Introduction
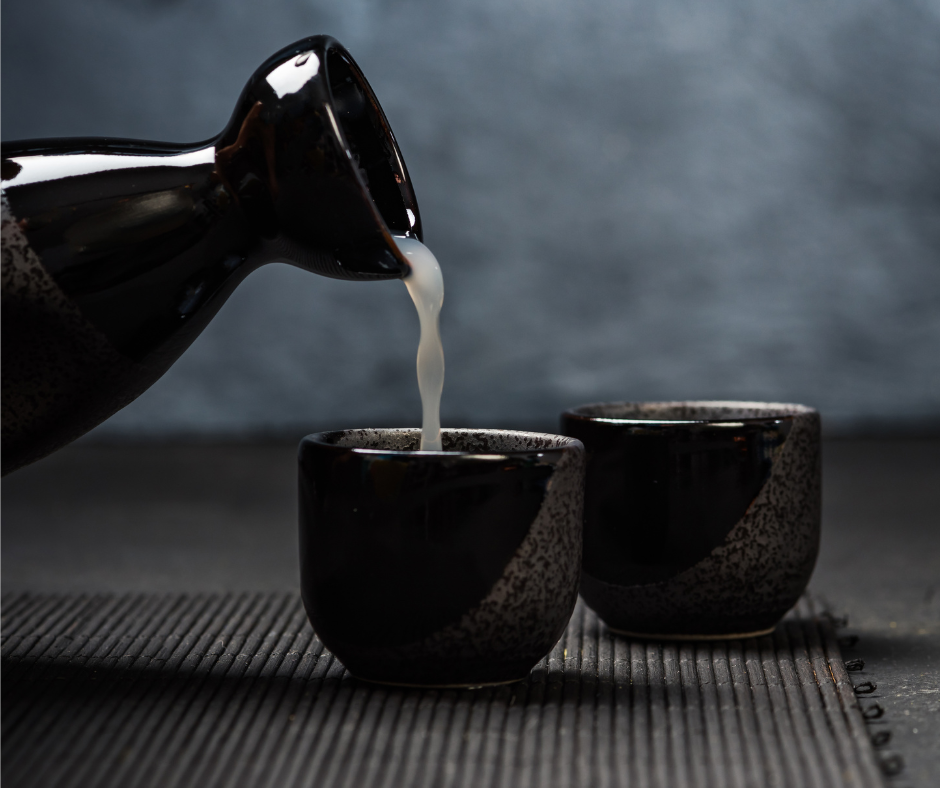
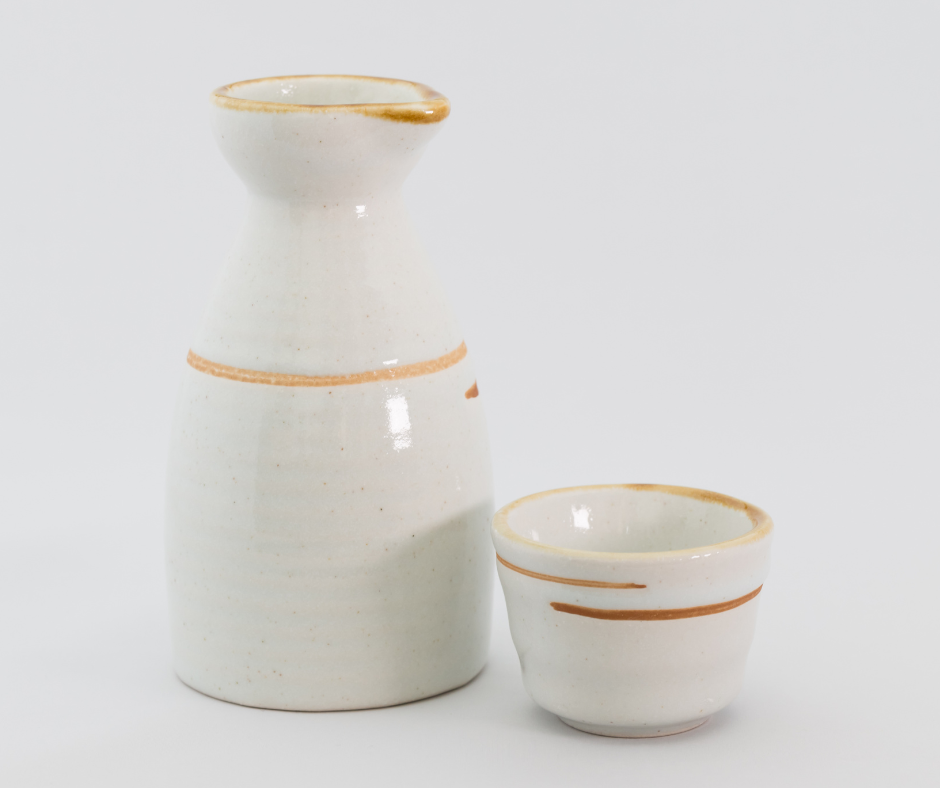
Sake, often called the “nectar of Japan,” is significant in Japanese culture. This traditional Japanese rice wine has been enjoyed for centuries and is integral to celebrations, ceremonies, and daily life. Sake represents Japan’s craftsmanship and attention to detail, making it a fascinating beverage to explore. If you’re curious about sake-making, this beginner’s guide will provide an overview of how to make Sake and its classifications.
What Is Sake And Its Significance In Japanese Culture?
Sake is a fermented beverage made from rice, water, yeast, and koji – a mold that converts starches into fermentable sugars. It carries a rich history dating back thousands of years and has become deeply rooted in Japanese traditions. Sake is sacred in ceremonies, such as Shinto weddings and shrine visits. It symbolizes purity, harmony, and a strong bond between people.
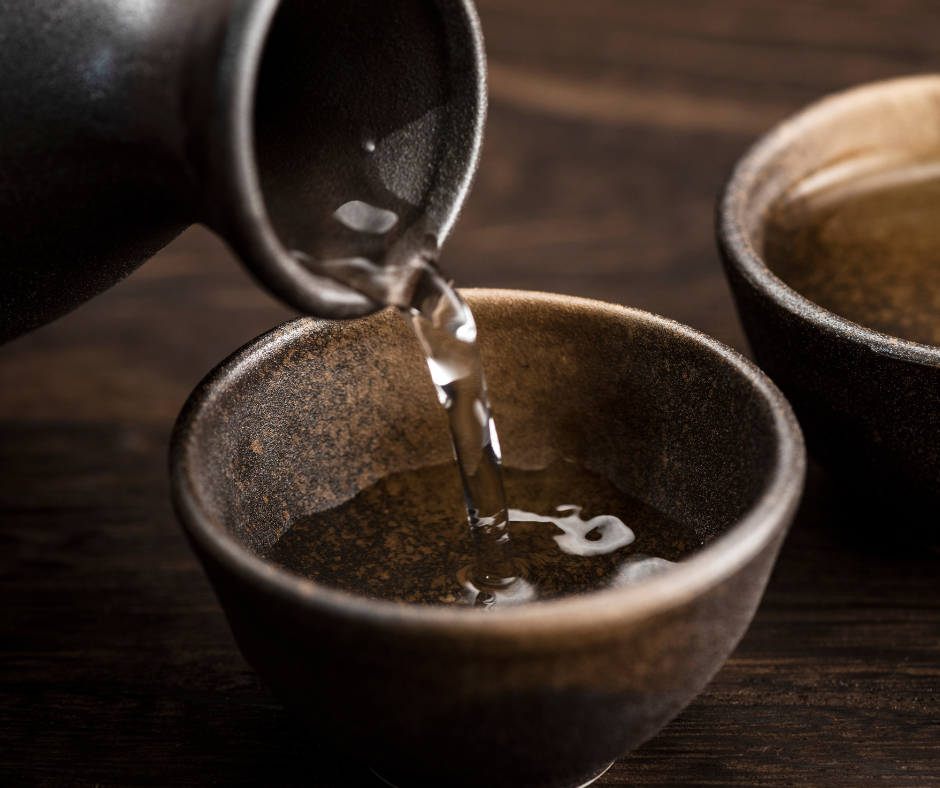
Sake also plays a crucial role in Japanese hospitality, often served to guests as a gesture of warmth and respect. It is customary to pour Sake for others and receive it with gratitude. In business settings, Sake can be a catalyst for building relationships and fostering a sense of camaraderie.
Overview Of How to Make Sake And Sake Classifications
Sake-making involves a meticulous process that requires precision and expertise. Here’s a brief overview of How to Make Sake:
- Polishing the Rice: The first step in sake making is polishing the rice to remove the outer layers, leaving only the starchy core. The degree of polishing determines the quality and classification of the Sake.
- Washing and Soaking the Rice: The polished rice is thoroughly washed and soaked to prepare for steaming.
- Steaming the Rice: The soaked rice is steamed to achieve the desired texture and consistency.
- Koji Production: Koji, a critical ingredient in sake production, is created by introducing the koji mold to the steamed rice. This mold breaks down the rice starches into fermentable sugars.
- Fermentation: The steamed rice, koji, yeast, and water are combined in a fermentation tank. Over several weeks, the yeast converts the sugars into alcohol through a natural fermentation process.
- Pressing and Filtering: Once fermentation is complete, the Sake is pressed to separate it from the solids and then carefully filtered to remove impurities.
- Pasteurization and Aging: The Sake is pasteurized and aged for a specific period to enhance its flavor and aroma.
Sake is classified based on ingredients, brewing methods, and rice polishing ratio. The highest quality sakes, or daiginjo, are made from highly polished rice and undergo a lengthy and meticulous brewing process. Other classifications include ginjo, honjozo, and junmai, each with unique characteristics and flavor profiles.
So, if you’re intrigued by the world of Sake, now you have a glimpse of its significance in Japanese culture and the intricate process involved in its creation. Cheers to embarking on a journey into the captivating realm of sake-making!

Ingredients And Preparation
Key Ingredients For Making Sake
You will need key ingredients to craft the nectar of Japan’s Sake. These include rice, water, yeast, and koji. The quality of these ingredients plays a crucial role in the final product. High-quality rice with a high starch content, such as Yamada Nishiki or Gohyakumangoku, is preferred for making Sake. The rice is polished to remove the outer layers, leaving behind the starchy core. The water should be soft and low in minerals to achieve the desired flavor profile. The yeast used in sake making is specifically selected for its ability to ferment the rice starches and produce alcohol. Lastly, koji, a mold called Aspergillus oryzae, converts the rice starches into fermentable sugars.
Detailed Steps On Preparing The Rice And Yeast Starter
The polished rice must be washed and soaked to begin the sake-making process. This step helps to remove any impurities and prepare the rice for steaming. The soaked rice is then steamed to achieve the desired texture and consistency. After steaming the rice, it is cooled to room temperature before adding the yeast starter.
A small portion of the steamed rice is mixed with water and koji to create the yeast starter. This mixture is placed in a warm environment to encourage fermentation. The yeast breaks down the rice starches into sugars, which will later be converted into alcohol during fermentation.
Once the yeast starter is ready, it is added to the rest of the steamed rice in a fermentation tank. This mixture is left to ferment for several weeks. During this time, the yeast converts the sugars into alcohol through a natural fermentation process. It is important to monitor the temperature and maintain a controlled environment to ensure the proper fermentation of the Sake.
After fermentation, the Sake is pressed to separate it from the solids and then carefully filtered to remove impurities. Some sake may undergo pasteurization and aging to enhance its flavor and aroma.
By following these detailed steps and using high-quality ingredients, you can journey into the captivating realm of making Sake. So, gather your ingredients, prepare the rice and yeast starter, and craft your batch of Sake, honoring this beloved Japanese beverage’s rich tradition and cultural significance. Cheers to your sake-making adventure!
Fermentation Process
Explaining The Fermentation Process And Its Importance In Sake-Making
When you learn How to Make Sake, fermentation is a crucial step that transforms the ingredients into the beloved nectar of Japan. Fermentation refers to the process where yeast consumes the sugars in the rice and converts them into alcohol. This process is essential as it creates the unique flavors, aromas, and characteristics that make Sake distinct.
The mixture is transferred to a fermentation tank after adding the yeast starter to the steamed rice. Here, the yeast works its magic over several weeks, breaking the sugars into alcohol through a natural fermentation process. Various flavors and aromas develop during this time, giving each batch of Sake its unique profile.
Monitoring Temperature And Conditions During Fermentation
Monitoring the temperature and maintaining optimal conditions throughout the process is crucial to ensure the proper fermentation of Sake. The ideal temperature for fermentation varies depending on the desired style of Sake, but it typically ranges from 10 to 20 degrees Celsius.
Maintaining a controlled environment is essential for the yeast to thrive and produce high-quality Sake. Slight fluctuations in temperature can significantly impact the fermentation process and the final product’s flavor profile. It is also important to prevent any undesirable bacteria or foreign organisms from contaminating the fermentation tank, as they can negatively affect the taste and quality of the Sake.
During the fermentation period, the sake brewer carefully monitors the progress by tasting samples regularly. This allows them to gauge the flavor development and make necessary adjustments to achieve the desired balance and complexity.
By paying close attention to the temperature and conditions during fermentation, sake makers can ensure that their final product meets the highest standards of quality and flavor.
Embarking on making Sake requires patience, precision, and a deep respect for tradition. By understanding and mastering the intricate fermentation process, aspiring sake brewers can craft their batches of this revered Japanese beverage that honors the rich cultural heritage it represents. So, gather your ingredients, create the perfect environment, and embark on your sake-making adventure!

Pressing And Finishing
Extracting Sake From The Fermented Mixture
Once the fermentation process is complete, pressing is the next step in making Sake. This crucial step involves separating the liquid from the solid rice particles and yeast sediment. The aim is to extract the clear Sake from the mixture while leaving any impurities and unwanted flavors behind.
Traditionally, a wooden press called a “fun” separates the liquid. The fermented mixture is poured into the funnel, and pressure is applied to squeeze out the Sake. Today, modern sake breweries use hydraulic presses for efficiency and precision.
The pressing process is delicate and requires skill to ensure the Sake’s quality and taste. The sake brewer must carefully control the pressure to avoid extracting bitter or astringent flavors from the rice solids. The resulting liquid is known as “moromi,” which is further refined to produce the final Sake.
Filtering And Refining The Sake For Optimal Taste And Clarity
After pressing, the Sake is filtered and refined to improve its taste, aroma, and clarity. The goal is to remove any remaining solid particles and impurities, producing a smooth and visually appealing final product.
One common method of filtration is called “charcoal filtration.” The Sake is passed through a fine mesh or activated charcoal to remove residual sediment. This process helps achieve a clean, clear appearance and removes unwanted flavors.
Additionally, some premium sakes undergo an extra step called “hire” or pasteurization. This involves briefly heating the Sake to stabilize it and enhance its shelf life. Pasteurization can also contribute to the Sake’s overall taste and aroma profile.
Once the filtration and refining processes are complete, the Sake is carefully stored in bottles or casks for aging. The aging period can range from a few months to several years, allowing the flavors to mellow and develop complexity.
Crafting sake is an art that requires attention to detail, precision, and patience. By understanding and mastering the pressing and finishing techniques, aspiring sake brewers can create their own batches of this revered Japanese beverage. So, gather your materials, embrace the process, and embark on the journey of making Sake – the nectar of Japan. Cheers!
Maturation And Bottling
Aging And Maturing Sake For Enhanced Flavor
After the pressing and finishing process, the Sake is not immediately ready for consumption. It requires a period of maturation to allow its flavors to develop and mellow. Maturation is a crucial step in the sake-making process, allowing the Sake to reach its full potential.
During maturation, the Sake undergoes chemical transformations contributing to its flavor profile. The components in the Sake interact with each other and with the oxygen, resulting in a more harmonious and complex taste. This aging process can range from a few months to several years, depending on the desired style of Sake.
The Sake is carefully stored in temperature-controlled environments to ensure optimal conditions for maturation. Traditional wooden casks or stainless steel tanks are commonly used for aging. The choice of container can impact the taste and aroma of the final product.
Bottling And Storing Sake For Future Enjoyment
Once the maturation period is complete, the Sake is ready to be bottled and stored for future enjoyment. Bottling is a delicate process that requires attention to detail to maintain the Sake’s quality.
The Sake is carefully transferred from the aging containers to individual bottles using specialized equipment to prevent oxidation or contamination. The bottles are sealed to ensure freshness and to protect the Sake from external elements.
Storing Sake properly is vital to preserve its quality over time. Sake is best stored in a cool and dark environment, away from direct sunlight and extreme temperature fluctuations. The ideal temperature for storing Sake is around 10-15 degrees Celsius (50-59 degrees Fahrenheit).
Let the cSake rest in the bottles for a certain period before consumption, typically a few weeks, to allow it to settle and harmonize. This resting period allows the flavors to develop further and become more balanced.
When ready to enjoy, Sake should be served chilled or at room temperature, depending on its characteristics. The flavors and aromas of properly matured and stored Sake are often more refined and well-balanced, providing a delightful drinking experience.
By understanding the maturation and bottling process, sake enthusiasts can fully appreciate the craftsmanship and dedication to making this revered Japanese beverage. So, embrace the art of sake-making, experiment with different aging techniques, and savor the fruits of your labor. Kanpai!

Tasting And Appreciation
Guide To Tasting Sake And Recognizing Different Flavor Profiles
Tasting sake is a sensory experience that allows you to appreciate the complexities of this revered Japanese beverage. Here are some steps to guide you on how to taste Sake and recognize different flavor profiles:
- Choose the right glass: Use a narrow-mouthed glass to concentrate the aromas and allow you to appreciate the Sake’s nuances fully.
- Observe the appearance: Take a moment to observe the color and clarity of the Sake. Clear and transparent Sake is generally preferred, although certain styles may have a slightly yellow or amber hue.
- Smell the aromas: Gently swirl the Sake in the glass to release its aromas. Take a deep sniff and try to identify the various scents, ranging from fruity and floral to earthy and umami.
- Sip and savor: Take a small sip of the Sake and let it coat your palate. Pay attention to the different flavors that emerge, such as sweetness, acidity, bitterness, and umami. Note the Sake’s texture, whether light and crisp or rich and full-bodied.
- Pay attention to the finish: The lingering aftertaste, or finish, can provide additional insights into the Sake’s quality. A long, clean finish indicates a well-crafted sake.
Tasting sake is a subjective experience, and everyone’s palate is different. The key is to trust your senses and enjoy exploring different flavor profiles.
Tips For Pairing Sake With Various Dishes
Sake is a versatile beverage that can complement a wide range of cuisines. Here are some tips for pairing Sake with various dishes:
- Consider the intensity: Match the intensity of the Sake with the intensity of the dish. Light and delicate sakes pair well with mild and delicate flavors, while full-bodied sakes can hold their own against bolder and spicier dishes.
- Balance flavors: Seek complementary or contrasting flavors to create a harmonious pairing. For example, pairing dry Sake with fatty or oily dishes can help cut through the richness and cleanse the palate.
- Experiment with different styles: Sake comes in various styles, from crisp and dry to sweet and fruity. Don’t be afraid to experiment and find your personal preferences. Consider the flavors and characteristics of the Sake when selecting dishes to pair.
- Take regional pairings into account: Some sakes have specific regional pairings based on local cuisines. Exploring these traditional pairings can provide a deeper cultural experience.
- Ask for recommendations: If you’re unsure which Sake to pair with a specific dish, don’t hesitate to ask for recommendations from knowledgeable sommeliers or experts.
Remember, the goal of sake pairing is to enhance the flavors of both the dish and the Sake. With experimentation and a sense of adventure, you can discover delightful combinations that elevate your dining experience.
Troubleshooting And Common Mistakes
Making Sake is both an art and a science that requires attention to detail and precision. As a beginner, it is common to encounter certain issues or make mistakes that can affect the quality of the final product. Here, we will discuss how to identify and resolve common issues when learning How to Make Sake and provide tips to avoid common mistakes.
Identifying And Resolving Common Issues In Sake Making
- Off-flavors: Sometimes, Sake can develop off-flavors, such as a sour or musty taste. This can be caused by improper fermentation or contamination. To resolve this issue, ensure all equipment is properly sanitized and follow the fermentation process carefully. If off-flavors persist, consult an experienced sake maker or brewer for guidance.
- Incomplete fermentation: If your Sake does not reach the desired alcohol content or stops fermenting prematurely, it could be due to inadequate yeast activity or improper temperature control. Check the temperature and provide optimal conditions for fermentation. You may also need to adjust the yeast or rice ratios for better results.
- Cloudy appearance: Sake should ideally be clear and transparent. Cloudiness can indicate issues with the filtration process or high levels of unfermented solids. To resolve this, ensure proper filtration and consider adjusting the rice washing process to remove excess starch.
Avoiding Mistakes That Can Hinder The Quality Of The Final Product
- Poor rice selection: The quality of the rice used in sake-making is crucial. Using low-quality or improperly polished rice can result in a subpar final product. Choose high-quality sake rice and ensure proper polishing to remove the outer layers and expose the starchy core.
- Inconsistent temperature control: Temperature plays a vital role in the fermentation process. Fluctuating temperatures can impact yeast activity and lead to inconsistent results. Invest in a temperature-controlled environment or use a temperature-regulated fermentation vessel to maintain optimal conditions.
- Insufficient yeast nutrients: Yeast nutrients are essential for healthy fermentation. Inadequate nutrients can lead to sluggish or incomplete fermentation. Follow proper yeast nutrient guidelines and consider supplementing with appropriate additives to ensure a robust fermentation process.
By identifying and resolving common issues in sake making and avoiding common mistakes, you can improve the quality of your final product and enhance your sake brewing skills. Remember, practice makes perfect, and don’t be afraid to seek guidance from experienced sake makers or brewers. Cheers to your sake-making journey!
Conclusion
Now you should know How to Make Sake. Sake making may seem intricate, but with the right knowledge and practice, you can produce a delightful nectar reminiscent of Japan’s traditional drink. We have explored making Sake, from washing and steaming the rice to fermenting and aging the brew. It is a labor of love that requires attention to detail and adherence to specific techniques.
The rewards, however, are plentiful. Crafting your Sake allows you to create flavors and nuances that suit your palate. You can experiment with different rice varieties, yeast strains, and fermentation techniques to develop a unique sake that reflects your preferences. The sense of accomplishment that comes with producing your own Sake is unparalleled.
It may be unsafe for beginners at first, but remember that even the most experienced sake makers started as novices. Embrace the learning process, explore different methods, and don’t be afraid to experiment. Each batch will give you valuable insights and refine your brewing skills.
If you encounter challenges, reach out to the sake-making community or seek guidance from experienced brewers. They can provide valuable tips and advice to overcome obstacles and improve brewing techniques.
On your sake-making journey, remember to savor the process and appreciate the artistry involved. Making Sake is not just about the end product but the passion and dedication you pour into each batch. So go forth, embark on your sake-making adventure, and relish the joy of creating your liquid masterpiece. Kampai!
FAQ: How to Make Sake – Crafting the Nectar of Japan: A Beginner’s Guide to Making Sake
Q: Is making Sake at home a difficult process?
A: Brewing your Japanese Sake at home may seem ambitious, but it is a fun and fulfilling experience worth the effort. Anyone can begin this sake-making journey with the right tools, ingredients, and patience.
Q: What tools and ingredients do I need to make Sake at home?
A: You need specific tools and ingredients to start your sake-making journey. Here are the basics:
- Rice: Choose a suitable rice variety specifically meant for sake-making.
- Koji: This is the heart of sake production, a mold that converts the rice’s starch into glucose.
- Yeast: Select a yeast strain suitable for sake fermentation.
- Water: Use good quality water, preferably soft water.
- Fermentation Vessel: A container with an airtight seal to facilitate fermentation.
- Brewing Equipment: This includes a thermometer, hydrometer, measuring cups, and brewing bags.
Q: How to Make Sake?
A: The sake-making process involves several steps:
- Rice Polishing: Remove the outer layers of the rice to expose the starchy core.
- Washing and Soaking: Cleanse the rice, removing any impurities, and soak it to prepare for steaming.
- Steaming: Steam the rice until it becomes soft, allowing the koji mold to penetrate and convert the starch to glucose.
- Koji Production: Mix steamed rice with koji mold spores, creating koji. Keep it at the right temperature for fermentation.
- Main Mash Preparation: Combine koji, steamed rice, and water, fermenting and converting the starch to sugar.
- Moromi Fermentation: The main mash can ferment further, converting the sugar into alcohol.
- Pressing: Extract the Sake from the fermented mash, separating it from the remaining solids.
- Pasteurization and Aging: Heat the Sake to eliminate any remaining bacteria and allow flavors to develop.
- Bottling and Enjoying: Transfer the Sake into bottles and let it age further, or consume it fresh.
Q: How long does it take to make Sake?
A: The sake-making process typically takes 3 to 4 weeks, including fermentation and aging. However, the exact time may vary depending on factors like temperature and desired flavor profile.
Q: Can I experiment with different flavors and styles of Sake?
A: Absolutely! Sake offers a wide range of flavors, aromas, and brewing styles. You can experiment with different types of rice, brewing techniques, yeast strains, fermentation temperatures, and filtration methods to create your desired sake profile.
Q: Do I need any prior brewing experience to make Sake?
A: While prior brewing experience can be helpful, it is unnecessary. This beginner’s guide is designed to walk you through the sake-making process, providing all the information you need to get started. With an adventurous spirit and a willingness to learn, anyone can successfully brew their own Sake at home.
Q: Where can I find more information about making Sake at home?
A: This beginner’s guide is the first of a four-part series exploring the sake-making world. You can find more in-depth information, tips, and techniques in subsequent parts. Additionally, resources are available online, and books are dedicated to the art of sake-making that can further enhance your knowledge and skills.

Andre Lotz immigrated to the United States from South Africa almost 20 years ago. Still, he didn’t feel truly at home until he settled in Mobile—a city that reminds him of his childhood home of Fish Hoek on the southern cape of Africa.

